Snyk pnpm support for vulnerability scanning
Snyk is a great tool for dependency vulnerability scanning, but it lacks support for pnpm. In this post I share a workaround to scan pnpm projects and publish vulnerabilities to their Web UI using Snyk CLI and GitHub Actions (but you can adapt this to any CI tool).
Introduction
Snyk provides dependency vulnerability scanning for many languages and package managers. For JavaScript / TypeScript projects it supports npm and Yarn projects, but is currently lacking support for pnpm. But why does the package manager matter? After all, Snyk can just read the dependencies and version from package.json right? Yes, it certainly can and it does. If you run Snyk over a pnpm project that’s exactly what it will do, but there’s a flaw in this process.
Why is pnpm support important?
Like npm and Yarn, pnpm stores a frozen resolved dependency tree in a lock file, called pnpm-lock.yaml, which ensures your production builds are identical to the builds you developed and tested against.
As Snyk doesn’t know how to parse the pnpm lock file, it just depends on the package.json dependencies and assumes all children are resolved to their latest version.
For example, tough-cookie versions less than 4.1.3 are vulnerable to prototype pollution. Now imagine you have a depdendency on [email protected], without a lock file Snyk will build a dependency tree that looks like the below and assume you’re not vulnerable.
client-oauth2 4.3.3
└─┬ popsicle 12.1.2
  └─┬ popsicle-cookie-jar 1.0.1
    └── tough-cookie 4.1.3
But in reality, your lock file might look like this, demonstrating that you are vulnerable.
client-oauth2 4.3.3
└─┬ popsicle 12.1.0
  └─┬ popsicle-cookie-jar 1.0.0
    └── tough-cookie 3.0.1
You can see your direct dependency client-oauth2 is the same version but you’ve previously resolved popsicle-cookie-jar to 1.0.0 which depdends on the vulnerable version of tough-cookie.
Without pnpm lock file support, Synk is going to under-report your vulnerabilities.
Enabling CLI beta support
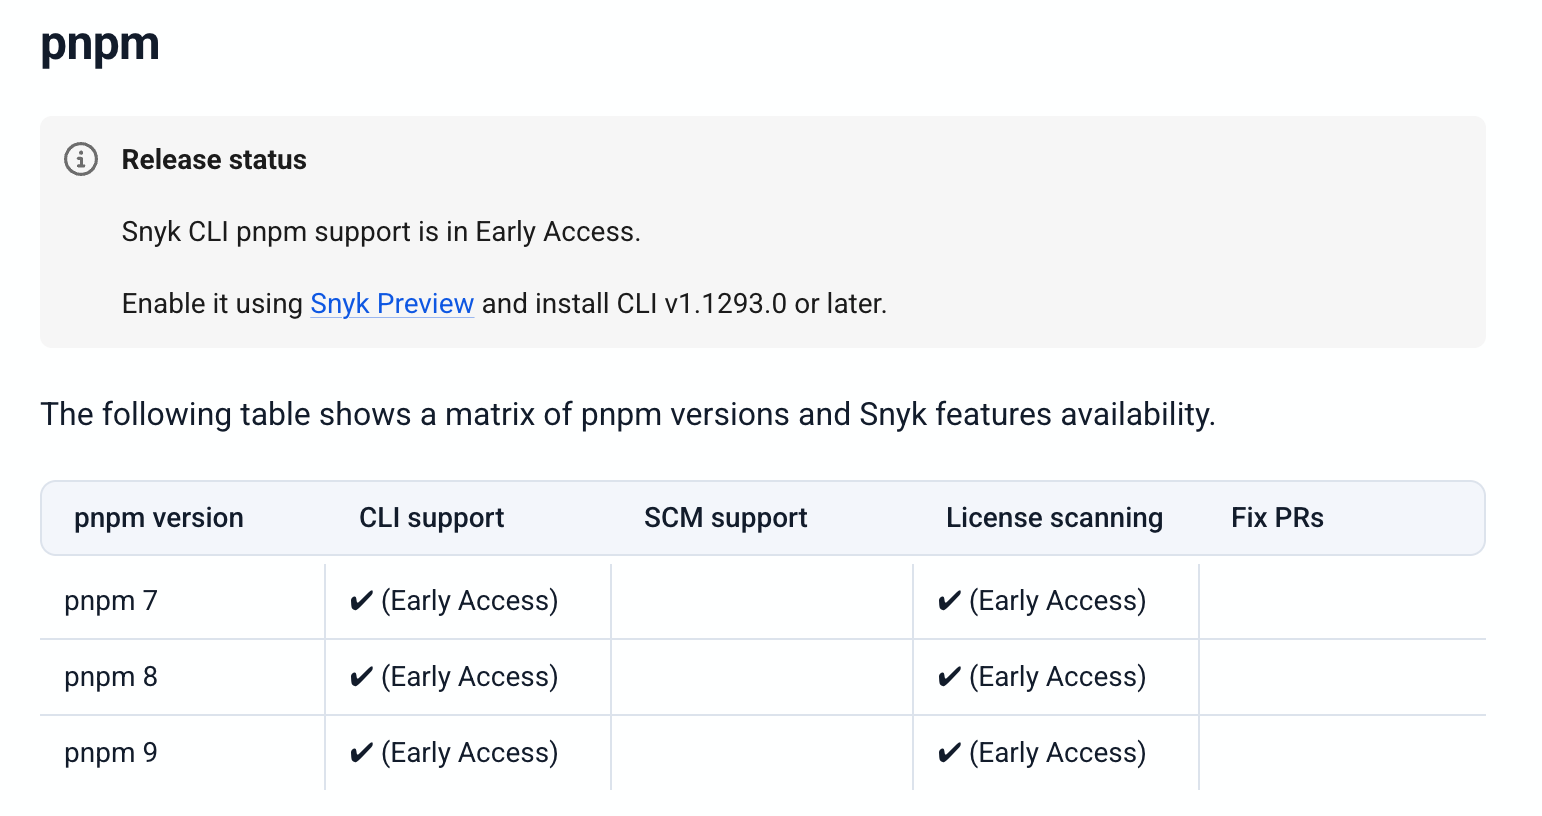
Snyk is working on pnpm support and have released an Early Access version for their CLI tool, but haven’t published a timeline for rolling it out to their Web UI
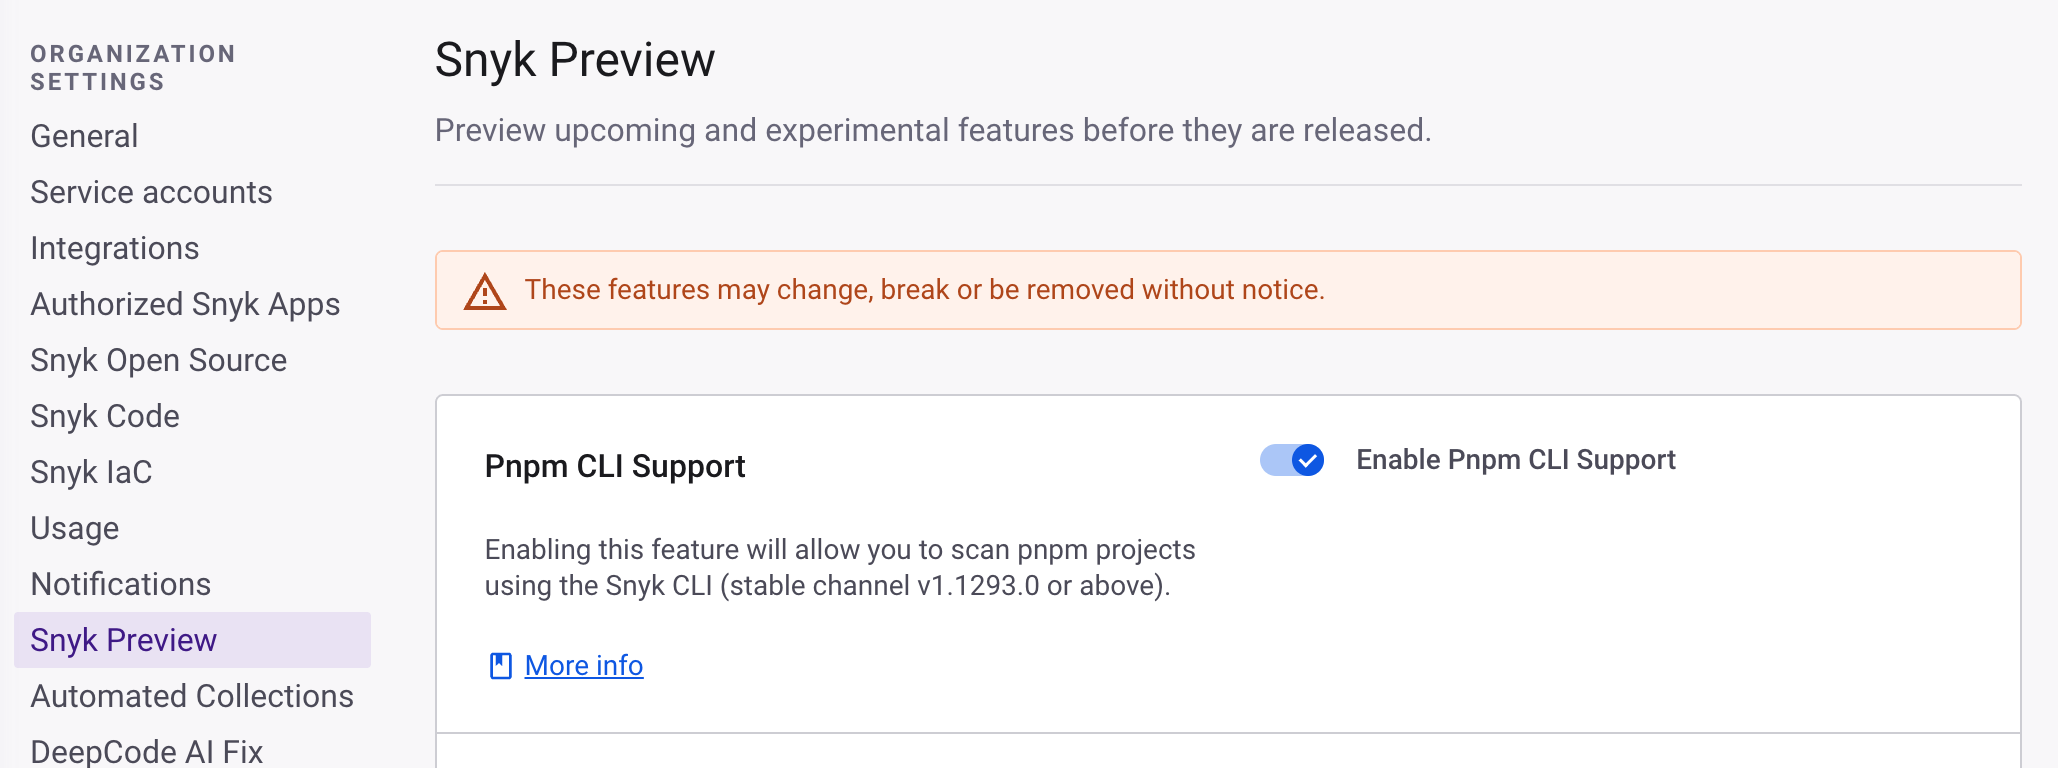
To enable pnpm support in the CLI, you’ll first need to opt-in to Early Access via Snyk Preview.
- At either the Group or Organization level, select Settings > Snyk Preview.
- Find the Pnpm CLI Support feature.
- Toggle Enable Pnpm CLI Support on.
Publishing scan results via CI
Knowing that the CLI supports pnpm scanning, we can setup a regular CI task to run the scan and push the results to the Snyk Web UI, allowing you to leverage all the normal reporting and maintenance features. The frequency of scanning is up to you, to be thorough you could run it on every deployment, but if you’re deploying many times a day and changing dependencies infrequently, then a more cost-effective solution would be to run it daily. Here’s an example of GitHub Actions task for this
name: Scan for vulnerable depedencies daily with Snyk

on:
  workflow_dispatch:
  schedule:
    - cron: "0 0 * * *" # Run every day at 10am (AEST)

jobs:
  snyk:
    name: Scan vulnerabilties with Snyk
    runs-on: ubuntu-latest
    steps:
      - uses: actions/checkout@master
      - uses: snyk/actions/node@master
        with:
          command: monitor
        env:
          SNYK_TOKEN: $
Once you start pushing your CI scan results, you’ll want to disable any SCM integration projects to avoid duplicate reporting. I recommend just disabling the Snyk Open Source projects in the Web UI, that way you’ll still benefit from Snyk Code and Snyk Infrastructure as Code scans, and you’ll be able to easily re-enable the projects when Snyk rolls out full support for pnpm through their SCM cloud scanning.
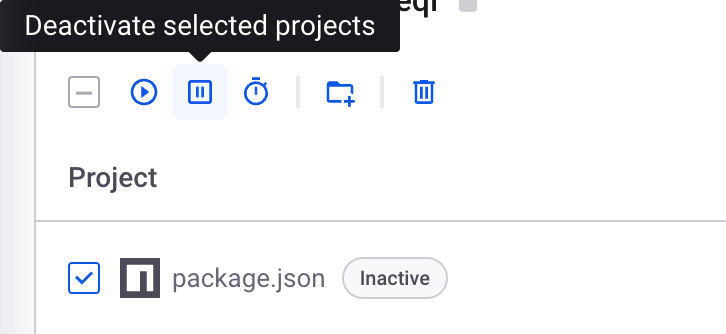
To disable SCM integration
- At the Organization level, select Projects.
- Select the SCM Target, which will be identified by the icon, CLI targets have a terminal looking icon, SCM targets should match your SCM provider.
- Find the projects that you’re now scanning via CI (they should end in
package.json), select them and click Deactivate selected projects.
Ignoring vulnerabilities
You can ignore false-positive or unfixible vulnerabilities from your CLI scan in the Web UI just like normal, this will exclude them from reporting. But what about all the vulnerabilities you’ve previously ignored? You’ll likely start seeing all these zombie vulnerabilities reappear, if it feels like a daunting task to manually ignore them again, then here’s some steps to export them from the old project and add to ignore rules in your .snyk configuration file.
-
At the Organization level, select Reports.
-
Change the Issue Status filter and select only Ignored.
-
Add a filter > Projects > Origin and select your SCM target.
-
In the Modify Columns drop down, select Problem ID.
-
Download CSV and for each record, add it to your Snyk project configuration via the CLI tool
snyk ignore --id=<problem id>
Or use this one-liner to add them all at once (requires csv kit)
csvcut ~/Downloads/snyk_issues_detail.csv -c 'PROBLEM_ID' | tail -n +2 | xargs -I {} snyk ignore --id='{}'
Conclusion
Although Snyk doesn’t support pnpm in it’s Web UI, you can use the Early Access Preview CLI support to scan for vulnerabilities, and by automating the process with GitHub Actions you can maintain regular checks and use Web UI reporting and ignore functionality.